
- Species choice — ThermoWood vs Siberian larch vs Nordic spruce for a self build — performance, cost, and maintenance compared.
- Profile choice — shadow gap, rainscreen, shiplap, and feather edge — which suits which self build design.
- Building regulations — what Approved Document B means for timber cladding on a self build, and when fire-rated cladding is required.
- Planning — how approved external materials affect your cladding specification and what to do if you want to change material.
- Costs — materials, installation, and whole-life cost for a typical UK self build in timber cladding.
- Ordering and lead times — how to order accurately, when to order, and what to expect from a specialist supplier.
Timber cladding is one of the most popular exterior finish choices for UK self builds — the combination of natural aesthetics, sustainability credentials, and long service life makes it compelling for self builders who want a building that looks distinctive, performs reliably, and ages gracefully. But self build cladding decisions are more consequential than garden room or extension decisions — the species, profile, and fixing system you choose will define the appearance and maintenance obligations of the building for 30+ years. This guide covers every key decision in the correct sequence, from planning approval through to ordering and installation.

Timber cladding on a contemporary UK self build — the natural warmth of timber, clean profile lines, and long service life make it one of the most popular exterior finish choices for UK self builders.
Step 1 — Planning Permission and Approved Materials
Every new self build requires full planning permission — and the planning approval will specify the approved external materials for the building. If your approved drawings show timber cladding as the external finish, you have planning consent to use it. If the approved drawings show brick, render, or another material and you want to switch to timber cladding, you will need to submit a variation to your planning approval before proceeding.
For most single and two-storey self build houses in standard locations, specifying timber cladding in the original planning application is straightforward — local planning authorities are generally supportive of natural timber as an external material for new residential buildings, particularly in rural and semi-rural settings. In conservation areas, national parks, and Areas of Outstanding Natural Beauty the material requirements are more tightly controlled — see our planning permission for timber cladding guide for full guidance.
Some planning approvals include a pre-commencement condition requiring samples of external materials to be approved by the planning authority before work begins. If your approval includes such a condition, submit your cladding sample for approval before ordering the full quantity — and keep the approval letter on file. Ordering before material approval is confirmed carries the risk of having to change specification at short notice.
Step 2 — Building Regulations for Timber Cladding
Building regulations for timber cladding on a self build are governed primarily by Approved Document B (fire safety) and Approved Document C (moisture resistance). For most single and two-storey self build houses, the requirements are straightforward — but it is essential to confirm your specific requirements with your building control officer at design stage, not after materials are ordered.
Approved Document B — fire performance
For buildings up to 11 metres in height, Approved Document B sets minimum distances between combustible external cladding and the boundary of the site. If your self build is within 1 metre of a boundary, the external wall construction including cladding must achieve specific fire performance ratings. For buildings over 11 metres, the external wall system must meet Euroclass B-s1,d0 or better — which requires factory-applied fire retardant treatment. For full guidance see our fire rated timber cladding guide and our Euroclass B cladding guide.
Approved Document C — moisture resistance
Approved Document C requires that external walls resist moisture penetration to the inner face of the wall. A correctly installed ventilated rainscreen cladding system — with breather membrane, ventilated cavity, and correctly detailed junctions — satisfies this requirement for timber cladding. The key is correct installation rather than material choice — all timber species installed correctly will satisfy Approved Document C requirements.
Step 3 — Choosing Your Timber Species
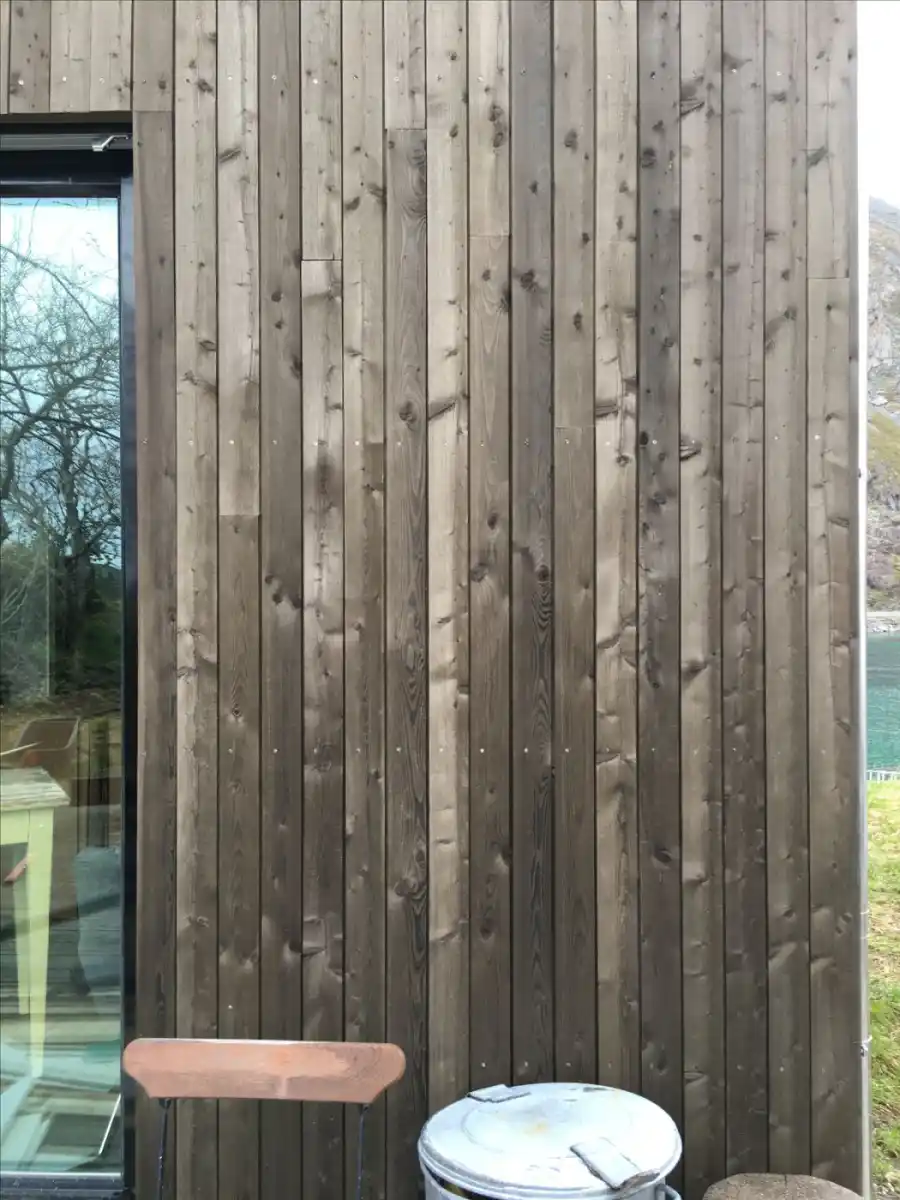
ThermoWood weathered to silver-grey — species choice defines both the visual character and maintenance obligations of your self build for 30+ years. For most self builds the decision comes down to Siberian larch or ThermoWood.
Species choice is the most important decision in any self build cladding specification — it determines the appearance, durability, maintenance requirements, and whole-life cost of the cladding over 30+ years. For UK self builds the decision almost always comes down to Siberian larch versus ThermoWood, with Nordic spruce as a budget option for less visible elevations.
Step 4 — Choosing Your Profile
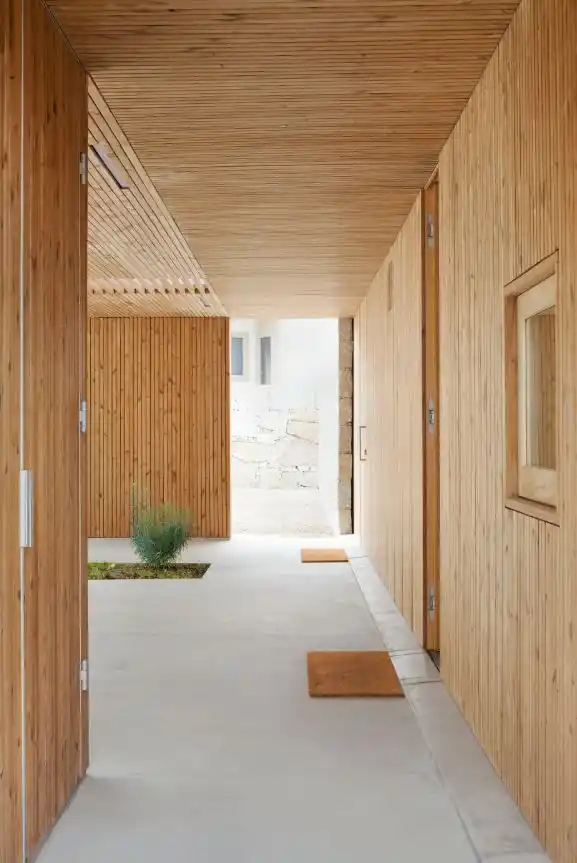
ThermoWood vertical cladding on a contemporary UK self build — the shadow gap profile creates a clean, precise facade with strong vertical emphasis that suits modern architectural design.
Profile choice defines the visual character of the building — the shadow depth, board rhythm, horizontal or vertical emphasis, and surface texture all flow from the profile decision. For contemporary UK self builds the most popular profiles are:
| Profile | Visual character | Best for | Cost premium vs feather edge |
|---|---|---|---|
| Shadow gap | Clean, contemporary, precise | Most self builds — horizontal or vertical | +£10–£20/m² |
| Rainscreen / open joint | Bold, architectural, three-dimensional | Architect-designed, commercial influence | +£5–£15/m² |
| Shiplap | Traditional, clean, horizontal | Rural self builds, traditional contexts | +£2–£8/m² |
| Feather edge | Traditional, rural, textured | Agricultural, rural, budget-sensitive | Base price |
| Triple shadow gap | Most architectural, maximum depth | Premium self builds, strong design intent | +£20–£30/m² |
For a detailed guide to all available profiles see our timber cladding profiles guide. For the specific shadow gap profiles available in ThermoWood see our ThermoWood range.
Step 5 — The Ventilated Cavity System

Siberian larch rainscreen cladding — installed over a ventilated batten framework with breather membrane behind. The ventilated cavity is what separates a correctly installed cladding system from boards simply fixed to a wall.
All exterior timber cladding on a self build should be installed as a ventilated rainscreen system — the outer cladding face separated from the structural wall by a ventilated cavity. This is not optional for a self build — it is the correct method required by Approved Document C and endorsed by all timber industry guidance. The cavity provides a drainage and drying path for any moisture that penetrates the outer cladding layer, protecting both the cladding and the structural wall beneath.
The minimum cavity depth is 25mm for standard UK exposure. In high-exposure locations — coastal sites, elevated positions, or sites with high wind-driven rain exposure — 38mm is recommended. See our rainscreen cladding guide for full technical guidance on cavity design and detailing.
Step 6 — Junction Details — Windows, Corners & Base
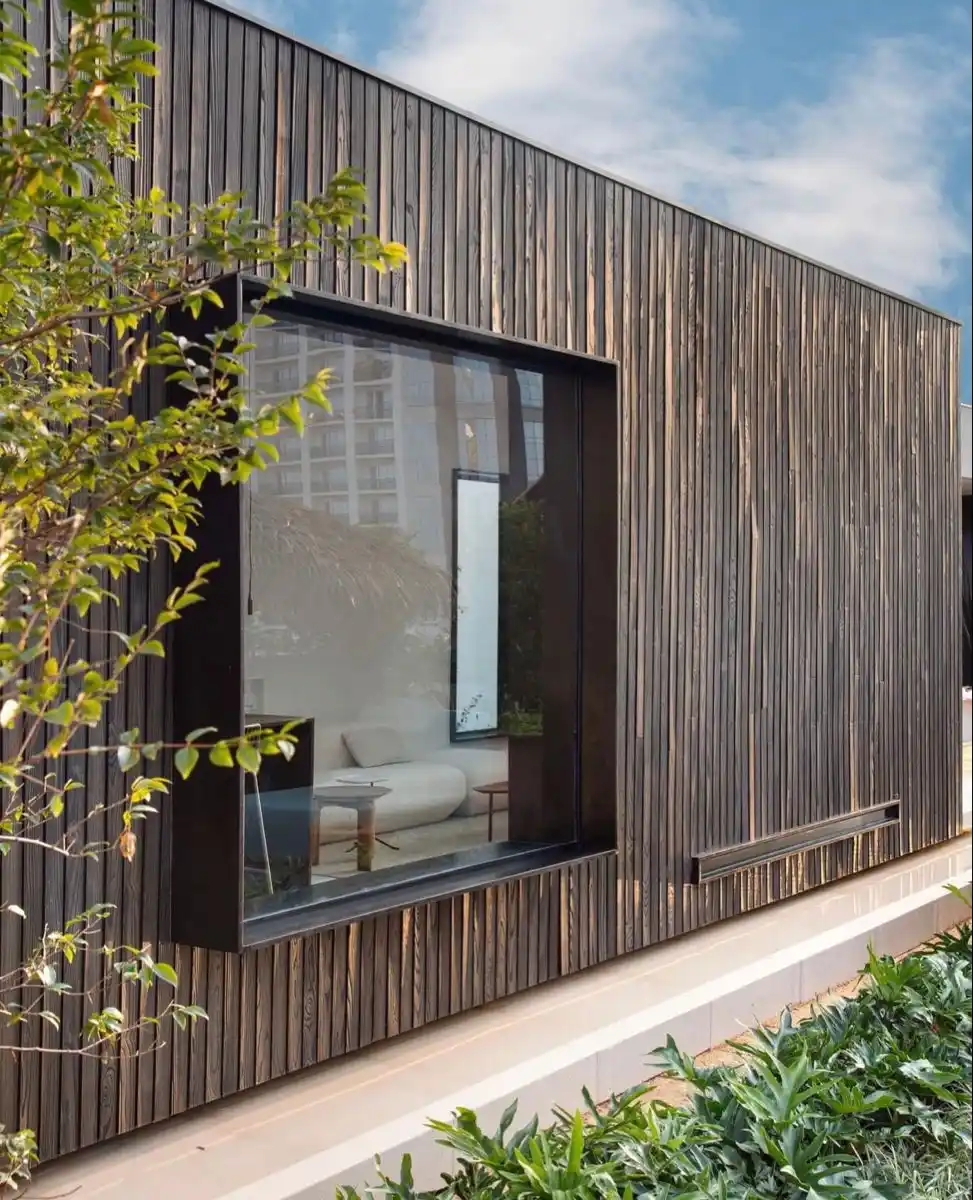
Window reveal detail — the junction between the timber cladding and the window frame is one of the most critical details in the entire installation. Correctly detailed reveals shed water away from the opening and prevent moisture tracking behind the cladding at the most vulnerable point.
The quality of junction details — at window reveals, external corners, the base of the wall, and at the eaves — determines whether a cladding installation performs reliably for its full service life or begins to fail at these vulnerable points within a few years. For a self build, these details should be designed by your architect or architectural technologist and shown on the building regulations drawings before installation begins.
The key details to get right on a self build are window and door reveals (most moisture-critical junction), external corner returns (mitred or corner post), the base detail (minimum 150mm ground clearance, open cavity base with insect mesh), and the eaves or parapet junction where the cladding meets the roof build-up. For technical drawings of all standard cladding junction details see our cladding detail drawings guide.
Step 7 — Self Build Cladding Costs
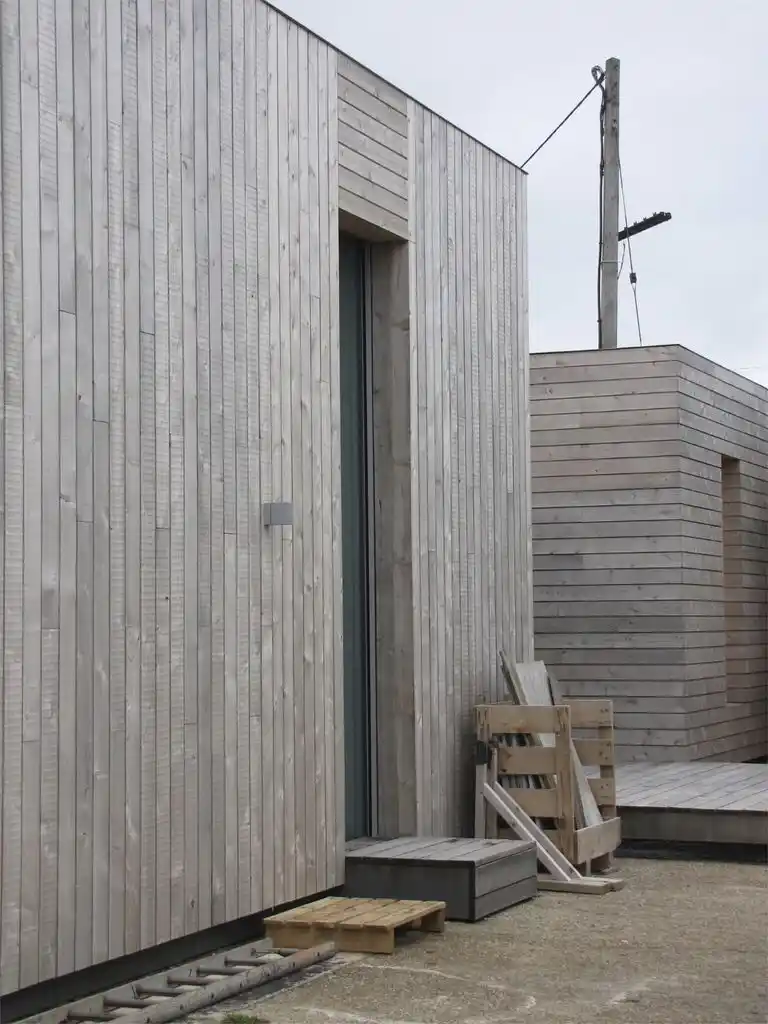
ThermoWood fully weathered to silver-grey — left untreated, ThermoWood develops a consistent silver-grey patina that requires zero ongoing maintenance. For a self build that will be lived in for decades, this zero-maintenance characteristic represents significant whole-life value.
| Species | Profile | Material cost — 120m² | Installed cost — 120m² |
|---|---|---|---|
| Nordic Spruce | Shiplap | £2,640–£4,200 | £7,200–£10,800 |
| Siberian Larch | Feather edge | £4,200–£6,000 | £9,600–£14,400 |
| Siberian Larch | Shadow gap | £5,400–£7,800 | £12,000–£18,000 |
| ThermoWood | Shiplap | £6,600–£9,000 | £14,400–£21,000 |
| ThermoWood | Shadow gap | £7,200–£11,400 | £16,800–£25,200 |
| Charred Timber | Rainscreen | £10,800–£15,600 | £21,600–£31,200 |
For full per-m² cost breakdowns by species see our ThermoWood cladding cost guide, Siberian larch cladding cost guide, and our full timber cladding cost per m² guide.
Step 8 — Ordering for a Self Build — What to Know
- Confirm your planning conditions — check external materials are approved and any pre-commencement conditions are discharged
- Confirm building regulations requirements — particularly fire performance if building is close to boundary or over two storeys
- Get an accurate area calculation — measure each elevation separately, subtract window and door openings, add 10% waste. Send us your drawings and we will calculate for you
- Order in full pack quantities — significant cost saving versus cut packs. We will advise on pack sizes when quoting
- Confirm lead time against programme — standard profiles are 7–14 days from UK stock. Fire-treated boards, factory-coated boards, and some specialist profiles require 3–6 weeks — order well ahead of installation
- Arrange covered storage on site — timber cladding must be stored flat, off the ground, under cover, and with adequate air circulation before installation. Do not store on a wet or muddy site without proper racking
- Allow acclimatisation time — particularly for ThermoWood, allow boards to acclimatise on site for 48–72 hours before installation in conditions that differ significantly from storage temperature
For the majority of UK self builds — Siberian larch shadow gap installed vertically is the strongest all-round specification. Natural durability without treatment, contemporary profile that suits modern architectural design, 20–35 year service life, and 20–40% less expensive than ThermoWood upfront. For a truly zero-maintenance specification where the premium is justified — ThermoWood shadow gap or triple shadow gap is the most specified premium self build cladding in the UK. Contact our team with your drawings for a precise material quantity and quotation.
What is the best cladding for a self build house in the UK?
ThermoWood and Siberian larch are the two strongest cladding choices for UK self builds. ThermoWood offers zero maintenance and a 30-year BRE certified service life. Siberian larch is naturally durable without treatment and costs 20–40% less upfront with comparable whole-life performance. Both are available in contemporary shadow gap, rainscreen, and shiplap profiles and are FSC and PEFC certified.
Does timber cladding on a self build need planning permission?
A new self build always requires full planning permission. The approval specifies the approved external materials — if timber cladding is in the approved drawings, you can use it. If you want to change the approved material to timber cladding after planning is granted, submit a non-material or minor material amendment before ordering.
Do I need an architect to specify timber cladding on a self build?
You do not legally need an architect, but for buildings over 11 metres or where fire-rated cladding is required, technical expertise is needed. For most single or two-storey self builds, an architect or architectural technologist will have specified the cladding as part of building regulations drawings. We can provide specification support and NBS-format product data for building control submission.
How much does timber cladding cost for a self build house?
For a typical 120m² self build: Siberian larch shadow gap costs approximately £5,400–£7,800 in materials and £12,000–£18,000 fully installed. ThermoWood shadow gap costs £7,200–£11,400 in materials and £16,800–£25,200 fully installed. Nordic spruce shiplap costs £2,640–£4,200 in materials and £7,200–£10,800 fully installed.
What building regulations apply to timber cladding on a self build?
Approved Document B (fire safety) and Approved Document C (moisture resistance) are the primary regulations. For buildings up to 11 metres, minimum boundary distances apply for combustible cladding. For buildings over 11 metres, Euroclass B-s1,d0 fire performance is required. Always confirm requirements with your building control officer at design stage.
Self Build Timber Cladding — Specification Support & UK Supply
We supply timber cladding for UK self builds in ThermoWood, Siberian larch, Nordic spruce, and charred timber — all FSC and PEFC certified from UK stock. We can provide precise material quantities from your drawings, NBS-format product data for building control, and sample boards for planning submissions. Contact our team to discuss your project.